Pearl Valorant Map Layout: A Comprehensive Guide For Competitive Players
Pearl, the newest map in Valorant, has quickly become a fan favorite among players. This map offers a unique blend of tight corridors, open spaces, and vertical gameplay, making it a challenging yet rewarding experience for both attackers and defenders. Understanding the Pearl Valorant map layout is crucial for anyone looking to improve their gameplay and climb the competitive ranks. Whether you're a seasoned veteran or a newcomer to the game, mastering the intricacies of Pearl can give you a significant edge in matches. In this article, we'll dive deep into the layout of Pearl, explore its key areas, and provide expert tips to help you dominate the battlefield.
Valorant maps are designed to test players' strategic thinking, teamwork, and individual skills. Pearl, in particular, stands out due to its Mediterranean-inspired architecture and complex design. From its dual-site setup to its intricate network of choke points and flanking routes, Pearl demands a thorough understanding of its layout. This article will not only break down the map's structure but also offer insights into how to leverage its features to outplay your opponents.
Whether you're planning to storm Site A, defend Site B, or execute a sneaky flank, knowing the ins and outs of Pearl is essential. We'll cover everything from spawn points to callouts, ensuring that you have all the tools you need to succeed. By the end of this guide, you'll have a comprehensive understanding of the Pearl Valorant map layout and be well-equipped to take on any challenge it presents.
Read also:7 11 Meaning Angel Understanding The Spiritual Significance
Table of Contents
Introduction to Pearl
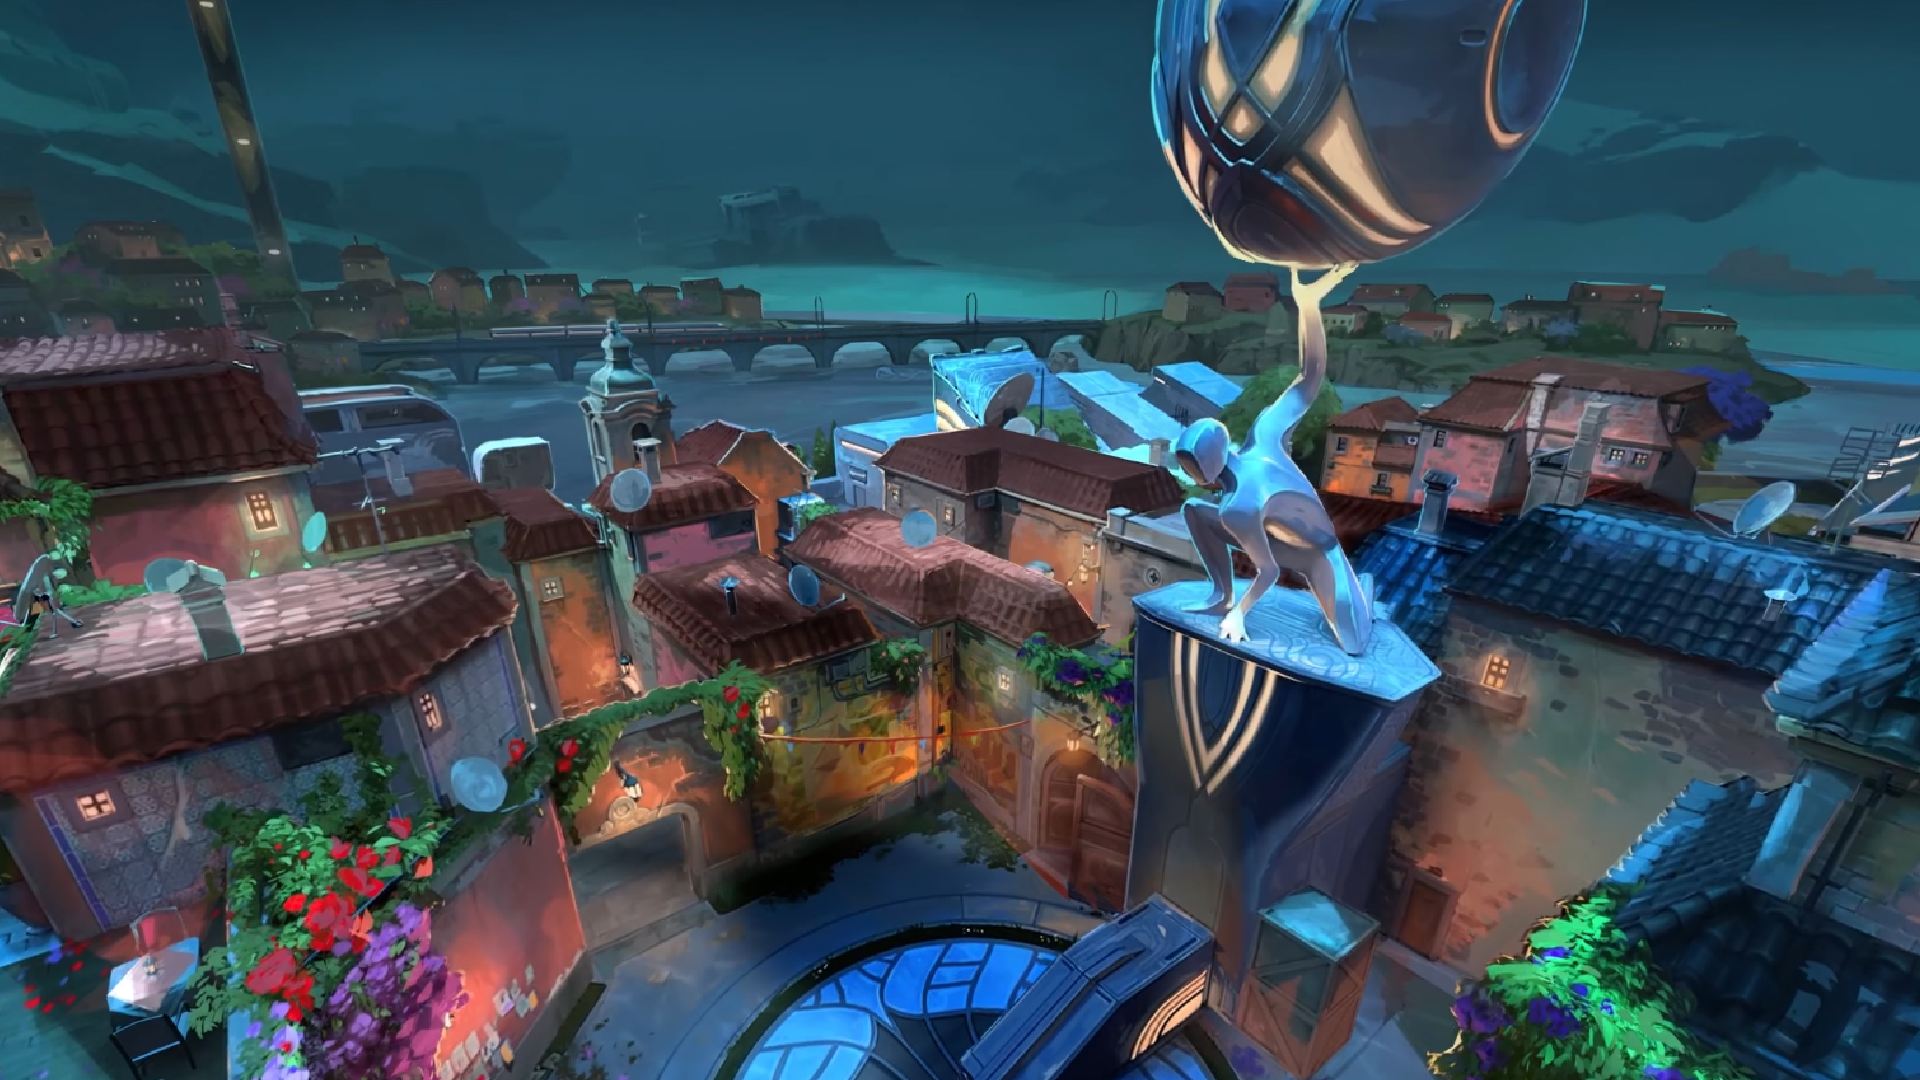
Pearl is the seventh map introduced in Valorant and is set in a vibrant Mediterranean-inspired city. Its design is a departure from the more industrial and futuristic aesthetics of maps like Haven and Bind, offering players a fresh and visually appealing environment. The map is characterized by its dual-site setup, with Site A and Site B offering distinct challenges and opportunities for both attackers and defenders.
One of the standout features of Pearl is its emphasis on vertical gameplay. The map includes multiple elevated positions, such as rooftops and ledges, which can be used to gain a tactical advantage. This verticality adds a layer of complexity to the gameplay, requiring players to constantly adapt their strategies and positioning.
Why Pearl Stands Out
Pearl's unique design sets it apart from other Valorant maps. The map's layout encourages creative playstyles, with plenty of opportunities for both aggressive pushes and defensive setups. Its tight corridors and open spaces create a dynamic environment where players must balance aggression with caution. Additionally, Pearl's aesthetic design, with its colorful buildings and bustling cityscape, provides a refreshing change of pace from the darker, more subdued maps in the game.
Key Features of Pearl
Pearl's layout is defined by several key features that shape the gameplay experience. Understanding these features is essential for navigating the map effectively and making informed decisions during matches.
Spawn Points and Rotations
Both attackers and defenders have distinct spawn points that influence their initial strategies. Attackers spawn near Mid and Connector, giving them quick access to both sites. Defenders, on the other hand, spawn closer to the sites, allowing them to set up defenses more efficiently. Rotations between the two sites are relatively straightforward, with Mid serving as a central hub for movement.
Dual-Site Design
Pearl features two bomb sites, Site A and Site B, each with its own unique layout and challenges. Site A is more open and offers multiple entry points, making it ideal for aggressive pushes. Site B, on the other hand, is more compact and easier to defend, with fewer entry points but more choke points. Understanding the strengths and weaknesses of each site is crucial for planning your attacks and defenses.
Read also:Allied Integrated Wealth A Comprehensive Guide To Building And Managing Your Financial Future
Site A Layout
Site A is one of the most dynamic areas of Pearl, offering a variety of entry points and angles for both attackers and defenders. Its open design and multiple elevated positions make it a hotspot for intense firefights and strategic plays.
Entry Points
- Long A: A long corridor leading directly to Site A, often used for sniper duels and aggressive pushes.
- Short A: A shorter route that provides quick access to the site, ideal for fast rotations and flanking maneuvers.
- Heaven: An elevated position overlooking Site A, perfect for holding angles and providing cover fire.
Defensive Strategies
Defending Site A requires careful positioning and communication. Placing a player in Heaven can help cover multiple angles, while others can hold Long A and Short A to prevent flanks. Using utility like smokes and molotovs can also help control key areas and slow down the attackers' advance.
Site B Layout
Site B is known for its compact design and tight choke points, making it a challenging site to attack but relatively easy to defend. Its layout encourages close-quarters combat and rewards precise execution.
Entry Points
- Tunnel: A narrow passage leading to Site B, often used for sneaky flanks and surprise attacks.
- Back B: A longer route that provides access to the back of the site, ideal for coordinated pushes.
- Under: A lower area beneath the site, used for quick rotations and flanking maneuvers.
Attacking Strategies
Attacking Site B requires coordination and precise timing. Using utility to clear Tunnel and Back B can help create openings for your team. Flanking through Under can also catch defenders off guard and create opportunities for quick site takes.
Mid Control
Mid is a central area of Pearl that connects both sites and serves as a crucial battleground for control. Holding Mid can provide valuable information and create opportunities for rotations and flanks.
Key Areas in Mid
- Connector: A narrow passage connecting Mid to Site A, often contested by both teams.
- Ramp: An elevated area leading to Mid, used for holding angles and controlling sightlines.
- Market: A bustling area with multiple entry points, ideal for aggressive pushes and utility usage.
Strategic Importance
Controlling Mid allows your team to gather crucial information about the enemy's movements and intentions. It also provides quick access to both sites, making it easier to respond to threats and execute flanks. Using smokes and flashes in Mid can help obscure the enemy's vision and create opportunities for aggressive plays.
Flanking Routes
Pearl offers several flanking routes that can be used to outmaneuver your opponents and catch them off guard. These routes are essential for creating openings and gaining a tactical advantage.
Common Flanking Routes
- Waterway: A hidden route that connects Long A to Tunnel, ideal for sneaky flanks and surprise attacks.
- Rooftops: Elevated positions that provide access to both sites, perfect for holding angles and creating crossfires.
- Underpass: A lower route connecting Under to Back B, used for quick rotations and flanking maneuvers.
Execution Tips
Using flanking routes effectively requires communication and timing. Coordinate with your team to distract the enemy while you execute your flank. Use utility like smokes and flashes to obscure your movement and create confusion among the defenders.
Callouts and Communication
Effective communication is key to success in Pearl. Using clear and concise callouts can help your team coordinate their movements and respond to threats more efficiently.
Common Callouts
- Long A: The long corridor leading to Site A.
- Tunnel: The narrow passage leading to Site B.
- Ramp: The elevated area in Mid.
Communication Tips
Use callouts to provide specific information about enemy positions and movements. For example, "Enemy spotted in Long A" or "Clear in Tunnel" can help your team make informed decisions. Practice using callouts consistently to improve your team's coordination and effectiveness.
Strategic Tips for Pearl
Mastering Pearl requires a combination of strategic thinking, teamwork, and individual skill. Here are some tips to help you improve your gameplay on this map.
Attackers' Tips
- Use utility to control key areas and create openings for your team.
- Coordinate with your team to execute flanks and surprise attacks.
- Communicate enemy positions and movements clearly to your team.
Defenders' Tips
- Hold key angles and choke points to slow down the attackers' advance.
- Use smokes and molotovs to control sightlines and create confusion.
- Rotate quickly between sites to respond to threats effectively.
Common Mistakes to Avoid
Even experienced players can make mistakes on Pearl. Avoiding these common pitfalls can help you improve your performance and increase your chances of winning.
Mistakes to Watch Out For
- Overcommitting to a single site without considering the enemy's movements.
- Failing to communicate enemy positions and movements effectively.
- Neglecting to use utility to control key areas and create openings.
How to Avoid Them
Stay aware of your surroundings and constantly communicate with your team. Use utility wisely to control sightlines and create opportunities for your team. Practice rotating between sites to respond to threats more efficiently.
Conclusion
Understanding the Pearl Valorant map layout is essential for anyone looking to improve their gameplay and climb the competitive ranks. From its dual-site setup to its intricate network of choke points and flanking routes, Pearl offers a unique and challenging experience for players of all skill levels. By mastering the layout and leveraging its features, you can gain a significant edge in matches and dominate the battlefield.
We've covered everything from spawn points to callouts, providing you with the tools you need to succeed on Pearl. Whether you're planning to storm Site A, defend Site B, or execute a sneaky flank, knowing the ins and outs of the map is crucial. Take the time to practice and refine your strategies, and don't hesitate to share your thoughts and experiences in the comments below. Happy gaming, and good luck on the battlefield!
Evaluate The Halloween Cookies Company Pillsbury On Trick-or-Treat Snacks
Grey's Anatomy: The Heartbreaking Death Of George O'Malley
FintechZoom Crypto ETF: A Comprehensive Guide To Investing In The Future Of Finance
Pearl Valorant Map Layout

Pearl Valorant Map Layout
