Access Raspberry Pi Through The Internet: A Comprehensive Guide
Accessing your Raspberry Pi through the internet opens up a world of possibilities. Whether you're managing a home automation system, hosting a personal server, or simply experimenting with IoT projects, being able to remotely control your Raspberry Pi is a game-changer. This guide will walk you through the steps to securely and efficiently access your Raspberry Pi over the internet while adhering to best practices for safety and performance.
Remote access to your Raspberry Pi can be achieved in several ways, each with its own advantages and considerations. From setting up a static IP address to configuring SSH and using a Virtual Private Network (VPN), there are multiple methods to choose from depending on your technical expertise and specific needs. In this article, we will explore these methods in detail, ensuring you have all the tools and knowledge necessary to make the most of your Raspberry Pi.
Before diving into the technical details, it's essential to understand the importance of security when accessing your Raspberry Pi remotely. Any device connected to the internet is susceptible to unauthorized access, making it crucial to follow best practices to protect your data and privacy. By the end of this article, you will have a clear understanding of how to securely access your Raspberry Pi through the internet while maintaining a high level of safety.
Read also:Minato Namikazes Wife A Comprehensive Guide To Kushina Uzumaki
Table of Contents
- Understanding Raspberry Pi Remote Access
- Preparing Your Raspberry Pi for Internet Access
- Configuring Static IP Address
- Setting Up SSH for Remote Access
- Using Port Forwarding
- Exploring VPN Solutions
- Leveraging Cloud Services
- Enhancing Security for Remote Access
- Troubleshooting Common Issues
- Conclusion and Next Steps
Understanding Raspberry Pi Remote Access
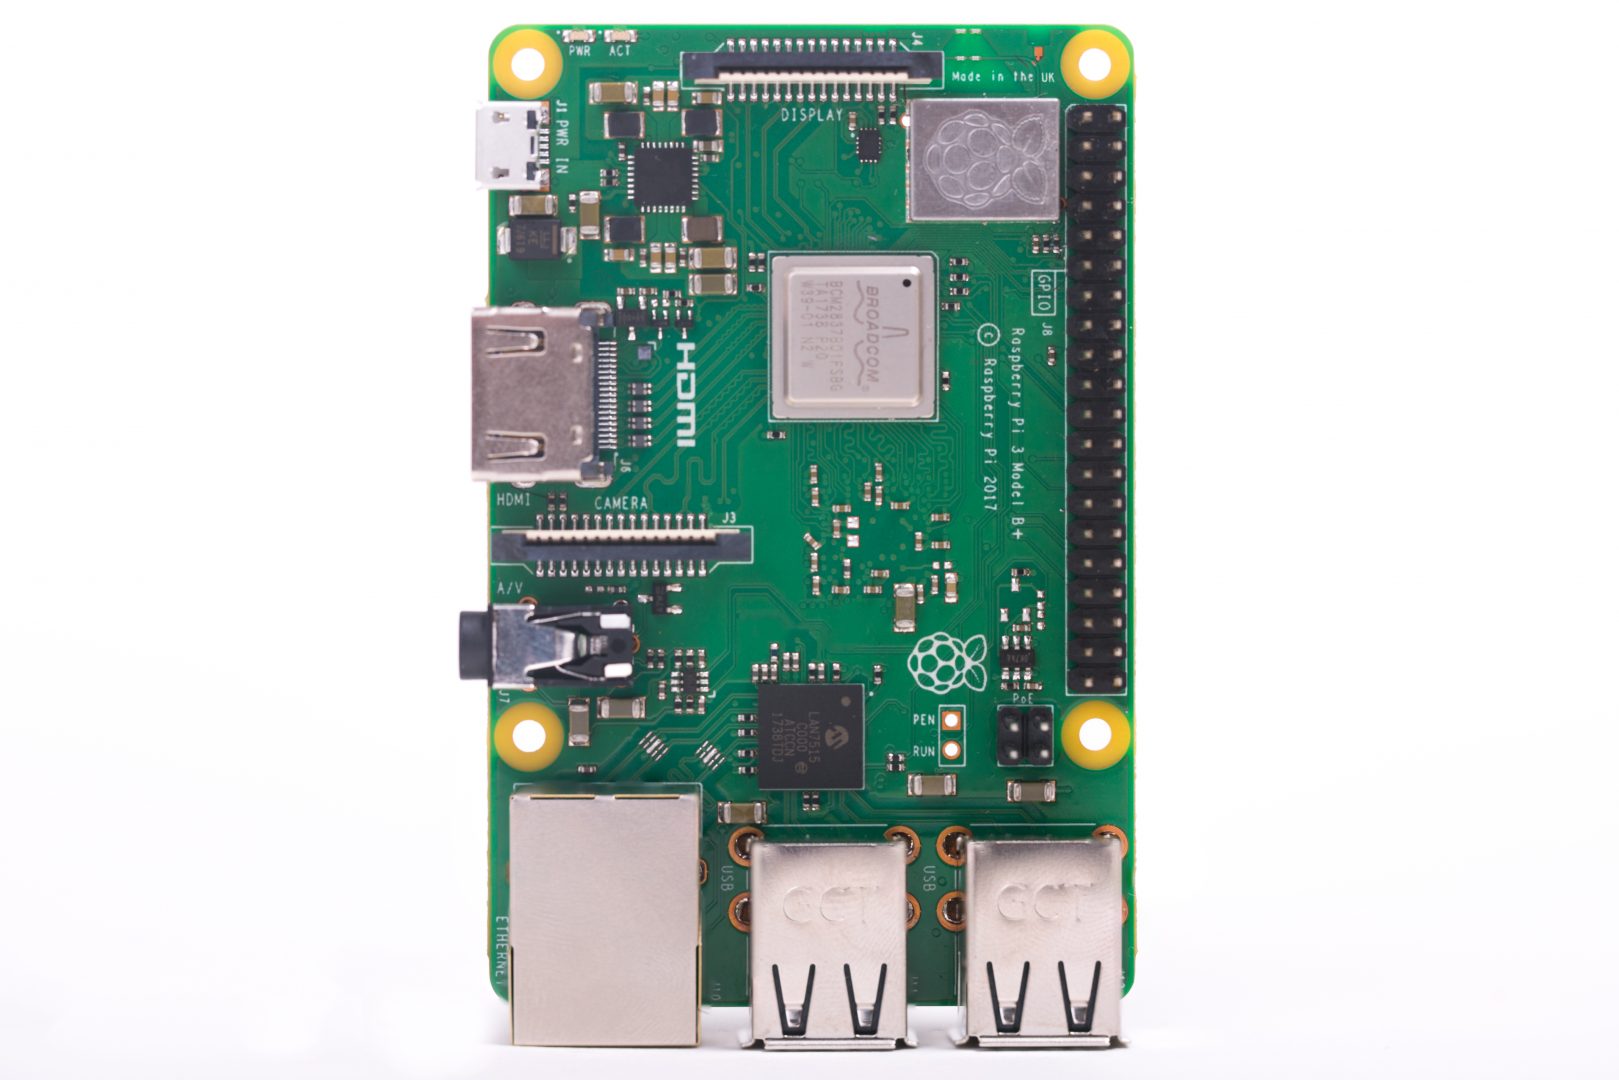
Remote access to a Raspberry Pi involves connecting to the device from a remote location via the internet. This capability is particularly useful for users who want to manage their Raspberry Pi without being physically present. For example, you can monitor sensors, control smart home devices, or manage files and applications remotely.
There are several ways to access your Raspberry Pi through the internet. The most common methods include using SSH (Secure Shell), setting up port forwarding on your router, using a Virtual Private Network (VPN), or leveraging cloud-based solutions. Each method has its own advantages and considerations, which we will explore in detail later in this article.
Why Access Raspberry Pi Remotely?
- Convenience: Manage your Raspberry Pi from anywhere in the world.
- Automation: Automate tasks and monitor systems without manual intervention.
- Cost-Effective: Avoid the need for dedicated hardware or physical access.
Remote access is particularly valuable for IoT (Internet of Things) projects, where devices need to be monitored and controlled remotely. For instance, you can use your Raspberry Pi to monitor temperature sensors in a greenhouse or control smart home devices while you're away from home.
Preparing Your Raspberry Pi for Internet Access
Before you can access your Raspberry Pi through the internet, it's important to ensure that your device is properly set up and configured. This involves updating the operating system, enabling necessary services, and ensuring a stable internet connection.
Updating Your Raspberry Pi
Start by updating your Raspberry Pi's operating system to the latest version. This ensures that you have access to the latest features and security patches. Open the terminal and run the following commands:
sudo apt update sudo apt upgradeThese commands will update your package lists and upgrade all installed packages to their latest versions.
Read also:Unlocking The Mysteries Of Angel Number 1122 Meaning Significance And Guidance
Enabling SSH
SSH (Secure Shell) is a protocol that allows you to securely connect to your Raspberry Pi from another device. To enable SSH, open the Raspberry Pi configuration tool by running:
sudo raspi-configNavigate to "Interfacing Options" and select "SSH." Choose "Yes" to enable the SSH server. Once enabled, you can connect to your Raspberry Pi using an SSH client like PuTTY (for Windows) or the terminal (for macOS and Linux).
Configuring Static IP Address
A static IP address ensures that your Raspberry Pi always has the same IP address on your local network. This is particularly useful when setting up port forwarding or configuring remote access.
Why Use a Static IP Address?
- Consistency: Ensures your Raspberry Pi is always reachable at the same address.
- Port Forwarding: Simplifies the process of setting up port forwarding rules.
- Remote Access: Makes it easier to connect to your Raspberry Pi remotely.
Configuring a Static IP Address
To configure a static IP address, edit the DHCP configuration file by running:
sudo nano /etc/dhcpcd.confAdd the following lines to the file, replacing the placeholders with your network details:
interface eth0 static ip_address=192.168.1.100/24 static routers=192.168.1.1 static domain_name_servers=8.8.8.8 8.8.4.4Save the file and restart the networking service:
sudo systemctl restart dhcpcdSetting Up SSH for Remote Access
SSH is one of the most secure and straightforward ways to access your Raspberry Pi remotely. Once SSH is enabled, you can connect to your Raspberry Pi from any device with an internet connection.
Connecting via SSH
To connect to your Raspberry Pi via SSH, you need the IP address of your Raspberry Pi and an SSH client. For example, if you're using a terminal on macOS or Linux, run the following command:
ssh pi@192.168.1.100Replace "192.168.1.100" with the actual IP address of your Raspberry Pi. You will be prompted to enter the password for the "pi" user.
Securing SSH Access
To enhance security, consider disabling password authentication and using SSH keys instead. Generate an SSH key pair on your local machine and copy the public key to your Raspberry Pi:
ssh-copy-id pi@192.168.1.100Then, disable password authentication by editing the SSH configuration file:
sudo nano /etc/ssh/sshd_configSet the following options:
PasswordAuthentication noRestart the SSH service:
sudo systemctl restart sshUsing Port Forwarding
Port forwarding allows external devices to connect to your Raspberry Pi through your router. This is essential for accessing your Raspberry Pi from outside your local network.
How Port Forwarding Works
Port forwarding maps a specific port on your router to the IP address of your Raspberry Pi. For example, you can forward port 22 (used for SSH) to your Raspberry Pi's IP address. This allows you to connect to your Raspberry Pi using your router's public IP address.
Configuring Port Forwarding
To configure port forwarding, log in to your router's admin interface. The exact steps vary depending on your router model, but generally, you need to:
- Navigate to the "Port Forwarding" section.
- Create a new rule.
- Specify the external port (e.g., 22) and the internal IP address of your Raspberry Pi.
Once configured, you can connect to your Raspberry Pi using your router's public IP address:
ssh pi@your-public-ipExploring VPN Solutions
A Virtual Private Network (VPN) provides a secure way to access your Raspberry Pi over the internet. By connecting to a VPN, you can access your local network as if you were physically present.
Benefits of Using a VPN
- Security: Encrypts all traffic between your device and the Raspberry Pi.
- Privacy: Protects your data from eavesdropping and unauthorized access.
- Flexibility: Allows you to access multiple devices on your network.
Setting Up a VPN
One popular VPN solution for Raspberry Pi is OpenVPN. To set up OpenVPN, follow these steps:
- Install OpenVPN on your Raspberry Pi:
- Generate the necessary certificates and keys.
- Configure the OpenVPN server by editing the configuration file:
- Start the OpenVPN service:
sudo apt install openvpnsudo nano /etc/openvpn/server.confsudo systemctl start openvpn@serverLeveraging Cloud Services
Cloud-based solutions offer an alternative to traditional remote access methods. Services like AWS IoT, Azure IoT Hub, or Google Cloud IoT Core allow you to connect your Raspberry Pi to the cloud, enabling remote access and management.
Advantages of Cloud Services
- Scalability: Easily manage multiple devices and projects.
- Integration: Seamlessly integrate with other cloud-based tools and services.
- Reliability: Benefit from the robust infrastructure of major cloud providers.
Connecting Raspberry Pi to the Cloud
To connect your Raspberry Pi to a cloud service, you typically need to:
- Create an account with the cloud provider.
- Install the necessary SDKs or libraries on your Raspberry Pi.
- Authenticate your Raspberry Pi with the cloud service using API keys or certificates.
Enhancing Security for Remote Access
Security is paramount when accessing your Raspberry Pi through the internet. Without proper precautions, your device could be vulnerable to unauthorized access and cyberattacks.
Best Practices for Security
- Use Strong Passwords: Avoid using default passwords like "raspberry."
- Enable a Firewall: Restrict access to specific ports and services.
- Keep Software Updated: Regularly update your Raspberry Pi's operating system and applications.
Additional Security Measures
Consider implementing additional security measures, such as:
- Two-Factor Authentication (2FA): Add an extra layer of security to your SSH access.
- Intrusion Detection Systems (IDS): Monitor for suspicious activity on your network.
- Backup Regularly: Ensure you have backups of your important data.
Troubleshooting Common Issues
While setting up remote access to your Raspberry Pi, you may encounter some common issues. Here are a few troubleshooting tips to help you resolve them.
Cannot Connect via SSH
- Check SSH Configuration: Ensure SSH is enabled and the service is running.
- Verify IP Address: Confirm that you're using the correct IP address.
- Firewall Settings: Ensure that the firewall is not blocking SSH traffic.
Port Forwarding Not Working
VegaMovies XYZ: Your Ultimate Guide To Streaming Movies Online
Quicken Loans Refinance: A Comprehensive Guide To Lowering Your Mortgage Payments
Hila Klein Nude

VNC Remote access a Raspberry Pi — The MagPi magazine
Raspberry Pi 3 Model B+ Raspberry Pi
